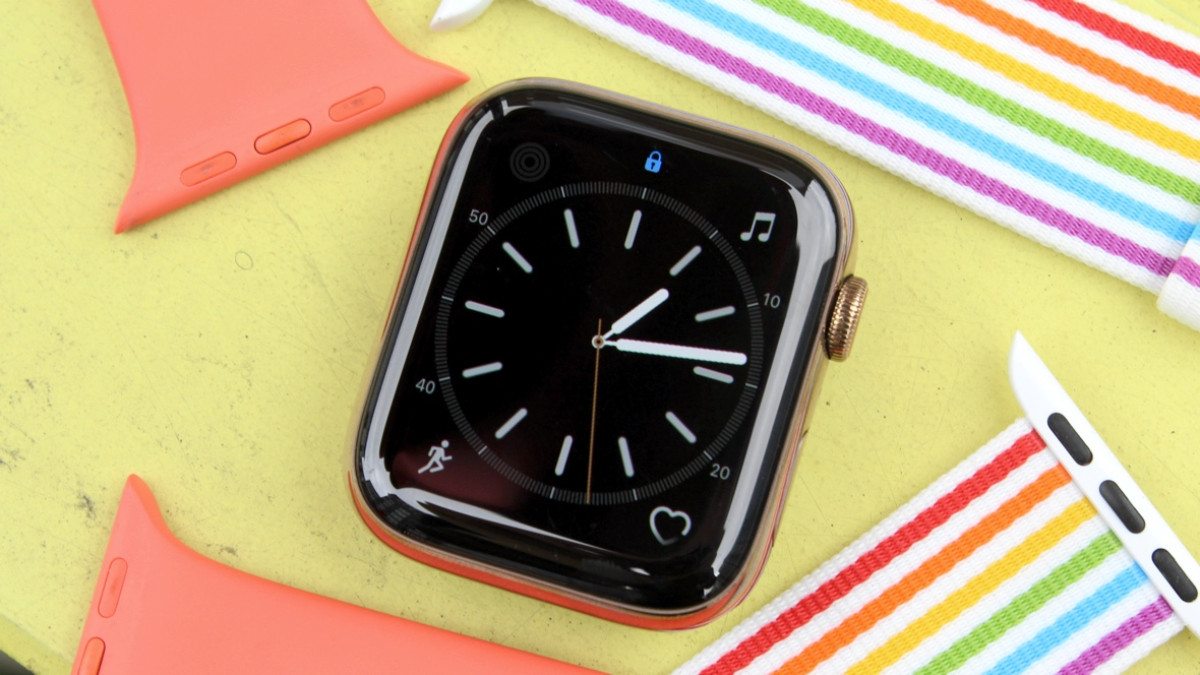
One of the best features of the Apple Watch is the hot-swappable bands, which enable you to change one out for another in seconds. It takes around 10 seconds to swap between Apple Watch bands, which means there’s no reason not to have multiple options ready to go.
And real world examples are easy to find. You may use a silicon Apple Watch strap for running or the gym, but want to swap to a leather or link band when you return to the office. Also, why not have different bands for different outfits? With such a vibrant market of third-party Apple Watch bands out there, it doesn’t have to be expensive either.
Want to know how to change Apple Watch bands? Follow the step-by-step instructions below.
How to change Apple Watch bands

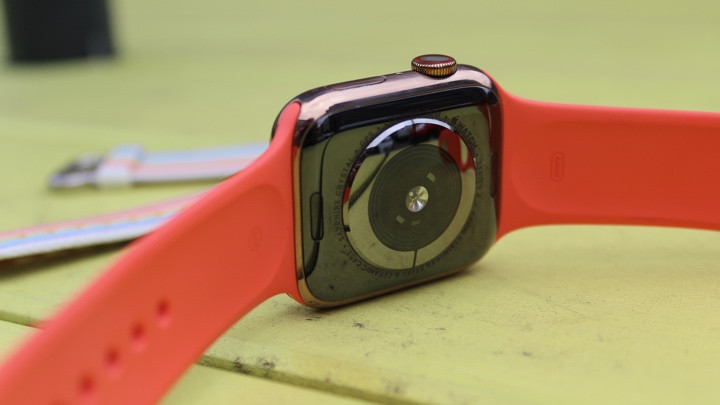
As we say, changing your Apple Watch strap couldn't get much easier, with Apple still implementing the same two quick-release buttons on the underside of the watch that featured on the very first generation. Here's some instructions on switching them:
- Look for the quick-release button on the underside of the Apple Watch.
- Push in and pull the band sideways, and slide it sideways out of the bracket.
- Now just slide in your new band, and wait for it to click into place.
- Ensure you have the front of the strap facing the front of the watch, or the mechanism won’t lock. If you don’t feel a click, turn the strap around and try again.

If you’ve forked out for one of Apple’s link bracelets, there’s a second button you need to be aware of. There’s one that parts the bracelet, meaning you can remove more easily without forcing your expensive band out.
Also, be aware that all your old Apple Watch bands still work with the Series 4 and Series 5, despite the change in case size.
How we test
